
A Comprehensive Guide to Bread Scoring: From Principles to 5 Practical Patterns
European bread, with its unique shape and flavor, is increasingly favored by baking enthusiasts. Among the many steps in its production, the most impressive is its iconic scoring—this traditional technique, combining functionality and decoration, is the finishing touch that distinguishes European bread.
Scoring is not as simple as randomly making a few cuts. The closer the operation is to baking, the greater its impact on the final shape of the finished product. The direction, pressure, and depth of the scoring are all crucial and require careful attention.
Key Points at a Glance
1. The primary function of scoring is to help release internal pressure in the bread during baking.
2. The best time to score is after the dough has completed its final proofing; the operation should be quick, accurate, and steady.
3. Scoring should “break the crust but not the core,” with a depth generally controlled between 0.3 and 0.5 cm. For larger openings, the depth can be adjusted to 1 to 1.5 cm.
4. Common scoring patterns include four main types: diagonal cuts, central cracks, cross cuts, and spiral cuts.
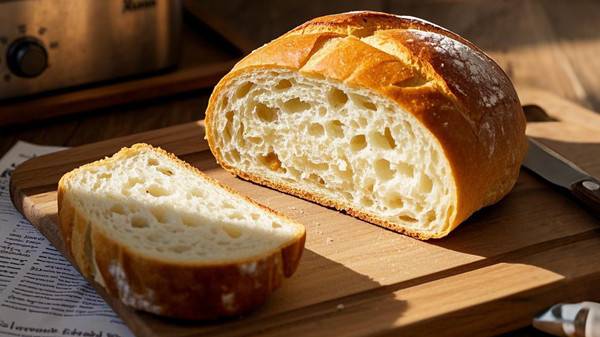
Why score bread?
While scoring can make bread more aesthetically pleasing, its more important function is to help release internal pressure.
When dough is placed in the oven, internal moisture evaporates rapidly, generating a large amount of steam. If there are no pre-cut vents on the surface, the dough’s tension will restrict its expansion, ultimately leading to uneven internal structure and affecting the texture.
Secondly, scoring effectively guides the direction of dough expansion, allowing the bread to achieve the desired shape. Furthermore, it helps form a golden-brown, crispy crust, further enhancing its visual appeal and taste.
What are the key techniques for scoring?
The entire scoring process requires speed, accuracy, and stability, completed in one smooth motion to ensure natural, flowing lines.
1. Optimal Timing for Scoring
The ideal time to score is after the dough has completed its final proofing. At this stage, the dough surface is firm and elastic; a light poke with a finger will neither collapse nor immediately spring back, making it perfect for scoring.
If the dough hasn’t proofed enough, there won’t be enough internal air, and the internal pressure during baking won’t be sufficient for the scores to open beautifully, resulting in less than perfect scores.
2. How to Control the Depth of Scoring
The core principle is “score the skin but not the core,” meaning the depth should be controlled at around 0.3 to 0.5 cm. For a larger cracked effect, the depth can be adjusted to 1 to 1.5 cm.
The depth of the scores directly affects the dough’s expansion potential in the oven. When the gluten strength is high and the oven temperature is high enough, the scores can be slightly deeper, allowing the dough to expand fully before the surface solidifies. It’s also important to maintain a consistent depth for each score so that the internal pressure is released evenly during baking; otherwise, the finished product is prone to deformation.
3. The Importance of Direction and Angle
The choice of direction and angle is closely related to the shape of the dough:
– Round dough: The expansion needs to spread evenly upwards and outwards. The cutting angle should be perpendicular to the dough surface, approximately 90 degrees.
– Oval or baguette-shaped dough: Expansion needs to spread to both sides, with distinct edges. The cutting angle should be approximately 45 degrees.
Five Commonly Used Scoring Patterns
1. Diagonal Cut
Commonly used on long breads such as baguettes. Simply use a scoring tool to make several even, light diagonal cuts on the surface of the dough.
2. Center Crack
Make a straight cut directly in the center of the dough.
3. Cross Cut
Commonly used on round or oval breads. Cut a pattern on the surface of the dough like drawing a cross. Be careful to keep the cut steady to avoid cutting crookedly. To create a diamond pattern, cut diagonally.
4. Spiral Cut
Usually used for round breads. Starting from the center of the dough, cut outwards in a spiral pattern.
5. Leaf-shaped cuts
Commonly used for long oval breads. First, make a vertical cut, then use a cutting tool to gently score leaf-like patterns on both sides. Ensure the distance between each cut remains consistent; this will result in a beautiful leaf-like texture after baking.
Scoring is not only a technique but also an art. It tests the baker’s precise judgment and steady technique, and reflects a deep understanding of the bread’s texture and flavor. Each cut is a reshaping of the bread; try it yourself and give your bread more personality and beauty.
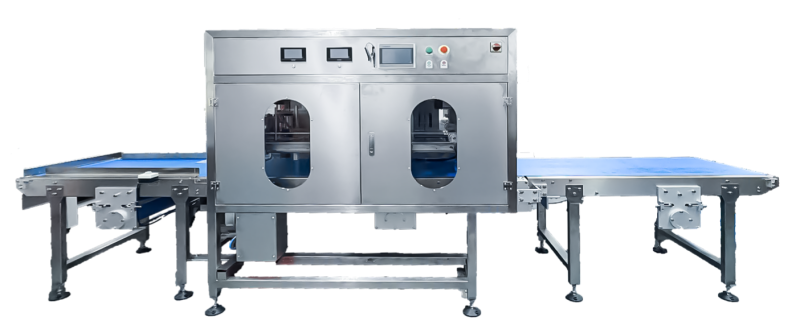
About Cheersonic
Cheersonic manufactures the leading portioning equipment for bakeries producing fresh and frozen desserts. Since 1998 bakers have used Cheersonic machines to cut, slice and portion cheesecake, pie, layer cake, loaves, butter, cheese, pizza, sandwichs, and more. Cheersonic offers ultrasonic cutting solutions that support start-up bakeries and high production commercial facilities alike. Small standalone machines can be used in manual baking facilities and large inline robotic solutions aid in high speed production.
Cheersonic offers many ultrasonic slicing models, both inline and offline applications, with production speeds of 80 to 1,500 cakes or pies per hour.
Cheersonic’ latest offline introductions include ultrasonic cutting with or without divider inserts between each slice. This improves the quality of the cut and makes for a much better product presentation for the customer. In addition, robotic arm improves the speed, efficiency, and accuracy of the cutting process, producing professional looking products every time.